Host demonstrates practical editing for social media videos, showing simple cuts, titles, music choices and app options—from in-platform tools to CapCut and Premiere Pro—and recommends learning by watching tutorials.
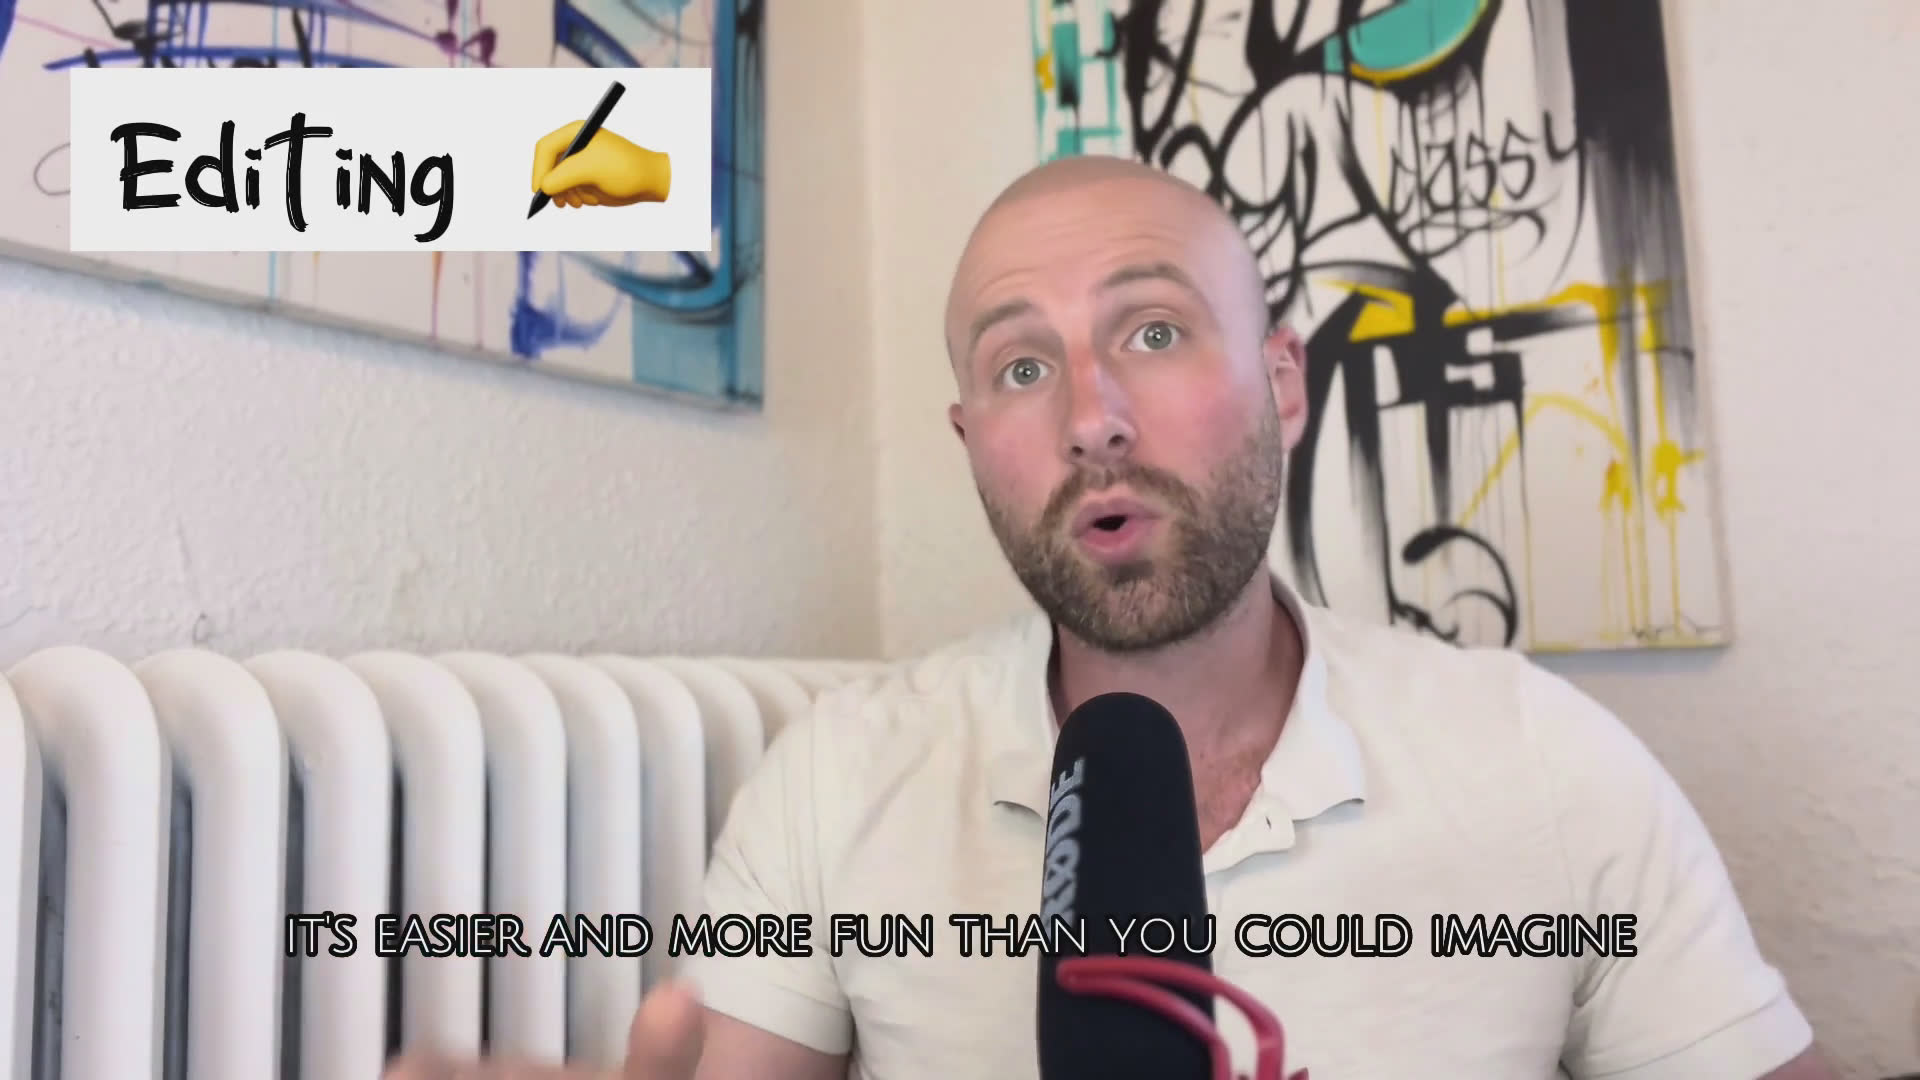
I'm going to show you how to edit social media videos that will skyrocket your engagement, whether it's for work or just creativity. Maybe you're trying to be the next big influencer. This video is for you. In case you haven't noticed by now, this is just one part of a five part series on creating content. So if you haven't watched those previous videos, go do so and come back and meet us here. So today we're going to talk about the final process of creating a video and that is editing. Now I know some of you just gag there because you think, well, editing is boring or maybe it's too technical, but I promise it's easier and more fun than you could imagine.
And it's a great way to express your creativity. Now if you're really serious about creating content, you should watch this video all the way through because this will be so important to making your videos crisp, polished and ready to post. If we go back and look at the process of choosing content, writing it, setting up the equipment and filming it, that's like laying the foundation and building a house. Putting is like the final touches, like putting in the decor, setting up furniture. It's a good way to put your style on there and really makes the difference between how people view your house and how enjoyable it is to be in it.
Now the question is, how much editing do you really need to do in your videos? And the answer is, well, that depends. It depends on what kind of content you're making. But for most content that I see, it really doesn't take all that much. Sometimes it's just putting in the right cuts, putting in titles, putting in music. There are a lot of different things you could do to make your videos that much better and it really doesn't take all that much. So I'm going to show you some of the most simple ways to do it that will probably meet 99% of your needs.
Personally, I would start off using the editing features that are already built in the app that you're going to post to such as Instagram or TikTok. It's pretty incredible. All the features that you could use and all the different effects. And honestly, what you can do in that app five years ago, it would have taken a professional to have to do. Now, one thing that's pretty cool is once you learn how to edit in any app or software, it becomes much easier to learn and pick up on other ones. And there's different levels to the game.
Like once you learn how to do it in one of those platforms, there's other more advanced apps like CapCut. That's also through TikTok. That's the one I use most frequently, like for these videos. But then if you're really trying to take it to the next level, you have things like Adobe Premiere Pro or Apple Final Cut, and probably you're not going to need to use those. But if you ever want to, when you take those steps forward, it becomes easier and easier. One of the best ways to start learning about how to edit a video is by actually watching a tutorial or watching someone edit it.
And that's what I'm going to do for you right now, starting on this cut. I'm going to show you how to do a handful of the most basic features to really get your videos up and going and get them looking professional. For example, we're going to start off doing something like titles. Also I'm going to show you how to add images and videos. These are what we call overlays. And a really important skill to learn how to use is how we do cuts just like that and make them smooth, crisp, and really bring people in to engage them.
Very frequently people add music to their videos and this is a great way to hop on trends and it's also really engaging if you do it right. Also I'll show you a couple of basic effects and transitions and how I put those in and maybe even a couple of sound effects. Now most of these things I'm showing you you should be able to do on TikTok or Instagram, but some of them you may not. There's also features within those that you can't do on here but you are able to mix and match them. Alright, let's go ahead and get started.
The first thing I'm going to do is open up cap cut and I'm going to choose the cuts that were in that one part of the video that I'm going to teach you how to edit and I'm going to go ahead and add those in. Now this loads them all in and makes them one continuous video. You could also do this in your phone with an app like iMovie or many other apps . Now starting on this cut. So now I'm going to go and trim both ends to exactly where I stopped talking. You'll get better and better at this the more you do it because you'll notice your facial expressions and when you typically stop.
So as I go through and trim the cuts to the perfect places I wanted whenever I 'm done, I go back and I check to be sure the cut is how I want and then I adjust from there if I went a little short or a little bit long but it's good to test after every single one to see if it's how you like it just like I did here. Starting on this cut. I'm going to show you how to do it. Alright you can see there that I just tested it and it's just how I like it. So now I'm going to go through each clip and I'm going to do the same thing trim it off a little at the beginning and a little bit at the end and testing afterwards.
Alright that's good. Another good way to do a cut is find the spot and then I click split it creates a new cut and then I just delete it and it goes through and makes it nice and smooth. For example we're going to start off doing something like titles. Alright now we're going to use text or titles I'm going to find the perfect spot right when I point my finger, leave it right there and then I'm going to click back, go to the text button, add text and I can put in whatever I want to do and then from there you have a bunch of different options as you can see you have different styles.
You have different fonts. So I'm going to pick the font that I've been using for this whole series. Then I'm going to go ahead and pick the style of text and you can see you have all these different options and again I'm going to go find the one I've been using for the series with the white background and you can see you can twist it turn to make it bigger, smaller and put it wherever you want. I'm going to go ahead and put it right above my finger so it looks like magic when I point and it just comes right up.
You can see that it creates a layer and it gives it an automatic amount of time there and I can go ahead and adjust it and I'm going to put it right to the edge of the clip so it goes away on the next cut. And there you have it. Also, I'm going to show you how to add images and videos. Alright, let's go ahead and add some overlays to get a photo and video. So I'm going to click back to the menu and then I'm going to go to add overlay. I'm going to go pick photos and add a photo randomly here, some French toast that I made.
So I went ahead and sized it and placed it exactly where I wanted. You could see it creates another layer so I could adjust the amount of time that it's on the screen. And what's unsatisfied there, then we could go ahead and put a video and it's going to be the exact same process, choosing the overlay option and then going to videos and adding the video I want. And I just filmed a random video of me waving for three seconds. So let's go ahead and put that in because how adorable. So that one creates another layer as well.
That one's only going to be for three seconds because you can't really have it longer than that. So I'll go ahead and trim it back to exactly where I want it because I could take a little bit off and then I want both of these to end at that last cut and then they magically go away. Very frequently people add music to their videos and this is a great way to hop on trends and it's also really engaging if you do it right. Alright let's add some music and the cool thing about cap cut is that you could put the music wherever you want in your video versus on some of the social media apps where it just plays the whole song through.
So going back to the beginning of the menu and then clicking audio and then adding sound and cap cut has a bunch of royalty free ones that you could use and I just went to my favorites list and I'm adding the one that I've been using this whole time. So it's going to create the whole song as a layer and I can move it around wherever I want in the video. So I only want it to be in this cut. So I'm going to go to the end of the cut and I'm going to click on the music. I'm going to split it there and then it'll highlight the rest and then I'm going to go ahead and delete it just like I did on some of the cuts.
So right when I have it adjusted where I want it I can click on that sound click volume and I can adjust it as high or low as I want. Alright so now as usual I'm going to go back and test it out to their videos and this is a great way to hop on trends and it's also really engaging if you do it right. Also I'll show you a couple basic effects and alright like I promised we are going to go add some effects so I'm going back to the menu at the very beginning adding effects and look at all these ones you could do.
So I'm just going through and I'm going to go ahead and pick a random one for you all and why not do gold sequins give it some pizzazz. Once it loads up it's going to give you some options so like for those sequins I can make them go faster or slower I could change the filter and really adjust it to how I want them. And once those are loaded in it's going to create its own layer and just like everything else I can click on it and adjust it as long as I want I'm going to make it to the end of this click and transitions and how I put those in and maybe even a couple sound effects.
Alright let's add some sound effects we're going to go back to the menu click audio effects and you can see there are a ton of fun ones to choose from. Alright so I got to pick one and I think we're going to do this ding here I think that's most appropriate so I'm going to click that add button next to it. So we just tested it out and I think it's a little bit late. So I'm going to go ahead and adjust it put it in a little bit more and give it one more test. Now that right there was perfect timing.
Alright we're going to do a transition now between clips I'm going to click that white button between these two cuts and there's a lot I could pick from so let's test a couple out. So that first transition cut it off a little so I'm going to pick one that's faster you can adjust the speed and you can see it hits that bar as it goes through and let's see how it goes. Alright folks that's all the features go play around with them. Alright folks we're at that point in the video where I'm going to give you some homework and don't worry it's going to be as fun as always.
Now take that video you've been working on this whole time we're at the end here and I want you to just play around with editing or you could just film a simple video and play around with that. Use whatever app you want to use whether you're going to primarily use Instagram or TikTok or try out cap cut and really just try to have fun with it the more creativity you put into it the more enjoyable it's going to be and you'll love the editing process even more. Alright I told you at the beginning this is essentially going to be a five part series and I already added another writing video to it however when I was making the series I never really stopped to think about the fact that once you're done with the video there's so much more you could do with it to boost your engagement.
There are so many strategies to posting your video that really can make or break how that video does because if no one watches that video well what was the point? So go check out my last video we'll go ahead and call it a bonus video on strategies of how to post different social media platforms I'll see you there.
Reactions and comments are for members. Joining is free and takes a minute.